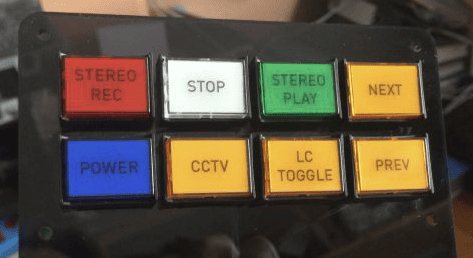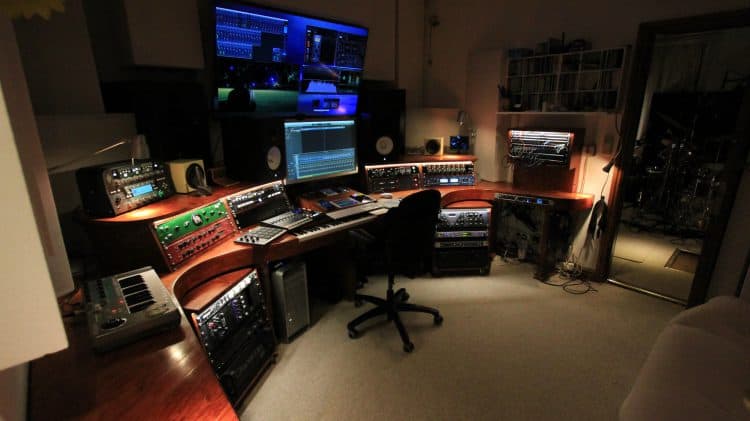
A friend of mine has had his recording studio fitted out with custom built furniture and wanted a smart control panel to give quick access to some bits and pieces.
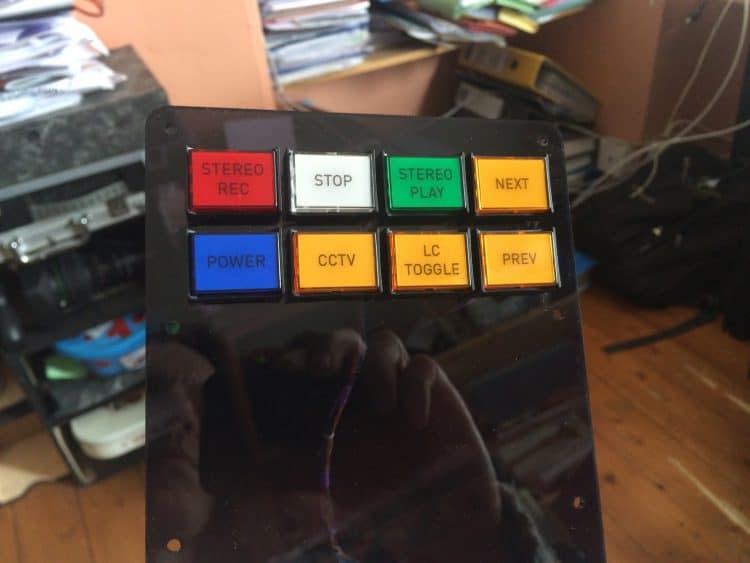
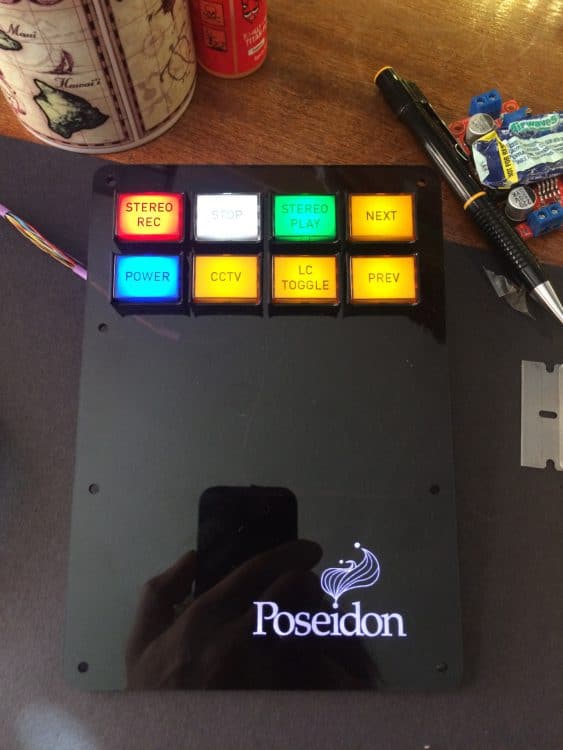
I laser cut a piece of smoked acrylic and mounted some sexy (and surprisingly cheap) illuminated switches from eBay. The decals on the switches are laser printed onto OHP film, cut out, and fitted inside the keycaps:
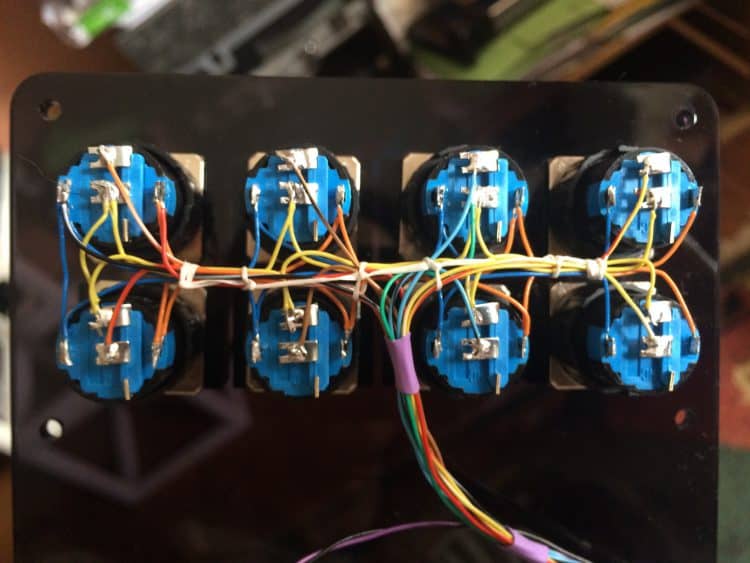
I soldered up the connections on the back of them… lots of wires. Each switch is illuminated, so it’s 4 connections per switch, 32 in total. The last thing you want is wires hanging loose, even though this panel will be mounted in a box, but I’ve seen some neat ways of “cable lacing” to tie them all together into a neat loom. Wikipedia has some nice pictures you can use as a guide; usually waxed cotton is used (I’m guessing the wax stops the knots from falling apart) but it turns out dental floss works just as well:
At the bottom of the panel, I’ve put the studio logo, all nicely backlit. The actual backlight is an old iPod display – take it apart carefully and you can remove the LCD glass, leaving you with a nice, evenly lit rectangle.
To create the logo, I laser printed several copies of the studio logo onto acetate, then carefully lined them up on top of each other and stuck them together with a little spray mount. Why multiple copies? If you try doing this with a single laser/acetate, you’ll find the black parts of the print aren’t dense enough to block the light properly. Layering up a few copies builds up the contrast, so you don’t end up with a glowing rectangle with the logo on it. Then I stuck it to the front of the iPod backlight, and glued it to the back of the acrylic panel:
The buttons are connected to a Teensy LC running in keyboard emulation mode, so they just trigger keypresses on the Mac the panel’s connected to.
Looks pretty smart in situ (that’s it just over the keyboard):
