Managed to get hold of a rare old mill – an Emco F1. It’s a beast. Here’s what they look used to look like when they were first sold (gotta love that jacket, huh?):

Here’s mine:

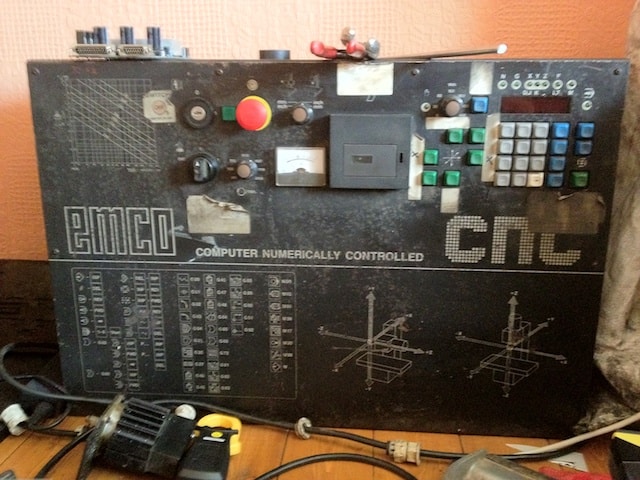
Before getting mine into the house I stripped off all the metal casings to leave just the essential working bits. No way to get it into the secret-workshop/attic otherwise. The control box was huge too:

… but with luck I’ll be able to ditch it and control it completely from a computer. Before trying to get the thing to move, though, the mechanics of the thing needed overhauling. I stripped it down completely:

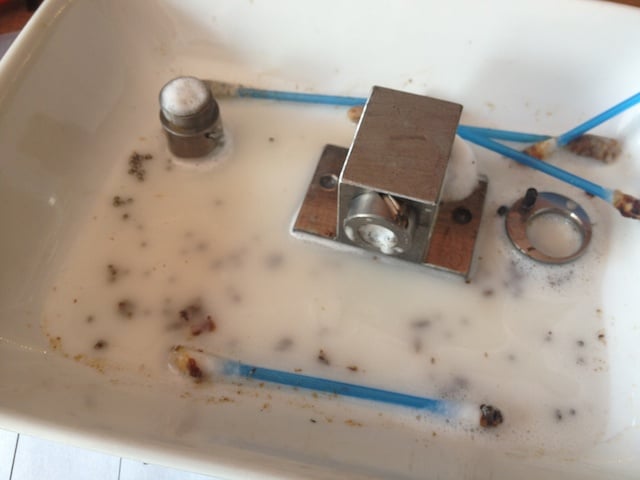
And cleaned and degreased all the bits:

And that’s when I found that the leadscrews were a bit knackered. The lead screws are almost the most essential parts of the mill – they’re the mechanisms that move the head up and down, and move the piece you’re milling back and forth under the milling head. They’re supposed to move smoothly but these ones felt … crunchy.

Taking apart leadscrews is not for the faint hearted. Although they look like a simple screw and nut, there are a line of ball bearings running around the thread between them.

To stop the bearings from just falling out when they reach the end of the thread, there’s a little return tube that carries the ball bearings back to the start of the thread again.

Some of the ball bearings in this mill had shattered and jammed the nuts, stopping them from moving properly up the leadscrew. Nothing for it but to dig ’em all out and re-ball the thing.

Trouble is, when the leadscrew’s assembled you can’t access the ball bearings – can’t even see them. The only way to ‘refill’ the nut with bearings is to stick them into place inside the nut, one by one, with tweezers. I found that coating them in gloopy lube let me stick them into place inside the nut thread, where they held for just long enough to screw the nut back onto the screw again.


Once the nut is loaded with bearings again (not forgetting that the little ball return tube has to be filled with them too), you can gently thread the nut back onto the leadscrew. As you screw them together, the ball bearings get pushed up the thread toward you, but you can use a toothpick to nudge them into the little return tube.
I couldn’t get all the nuts working again – there were two nuts on each leadscrew, with a setscrew to let you put some tension between them, which lets you tighten the nuts to the screw such that there’s no slack or wobble. One of the nuts was completely knackered so I decided to ditch it and go with a single nut on the Z-axis (the axis that lifts and drops the milling head) figuring that gravity would help counter backlash.
I assembled it all again – this time with new stepper motors.

The new motors didn’t quite match the old ones – the shafts were too long – but I managed to get them to fit by spacing them with spare washers and nuts.

Finally, I carried the thing upstairs to the attic. Not something I’d want to do again 🙂
Next stage: milling some stuff!

Would love to see more on the final stages and it milling. The PCBs suggest that it’s pretty tight. I have to customer mills and routers and very happy with PCB milling results.
Would you please tell pitch of the leadscrews on the Emco f1, I need to order one.
Thanks in advance.
Maynard
Hello,
i‘m also owner of a EMCO F1 CNC. I See you have a picture from the Original Stellung brochure. Do you can Scan the selling brochure and E-Mail it to me?
Regards Frank
I really like your conversion. I have this machine myself and I am doing a conversion at this moment. I am having issues with fitting the new steppers. How did you fit your new steppers to the leadscrew?
I made new bracket plates with some scrap bits of metal and a hand-drill: the original pulleys were slightly too large for the steppers I’d bought (probably some metric/imperial mismatch) but I was able to shim them with some random metal strip. Seem to remember I filed a flat on the stepper shafts and then hammered a tiny wedge in each one. Sounds like a bit of a bodge – well, okay, it was a bodge – but it’s worked perfectly. So is it a bodge if it works? (answers on a postcard pls)
Please do you know how to remove timing pulleys from ballscrew?
Thank you.