A friend wants a Knight Rider style Larson scanner for the back of his cycle helmet. Simple enough. Especially now we have intelligent LED strips available, which only need power plus one data wire to drive a load of LEDs.
Note: if you want to do this sort of thing, make sure you understand the dangers of having LiPo batteries close to your head, and take suitable precautions – see the note at the bottom of this post.
But first things first: I knocked out some very quick and dirty code to do a nice scanning effect (thanks Adafruit for the WS2812 library! Doesn’t half save some time) My code is here. Nothing fancy, but it has a nice decay effect, and a gamma lookup table to keep things pretty. Used an Arduino Mega board to do the testing:
The code works fine, but it needs to run from something a bit smaller than an Arduino. An Attiny85 does just as well (the 45 would probably have worked but I don’t have any):Programming them is a bit fiddly, though; ends up being easiest to just solder the programming wires straight to the chip:
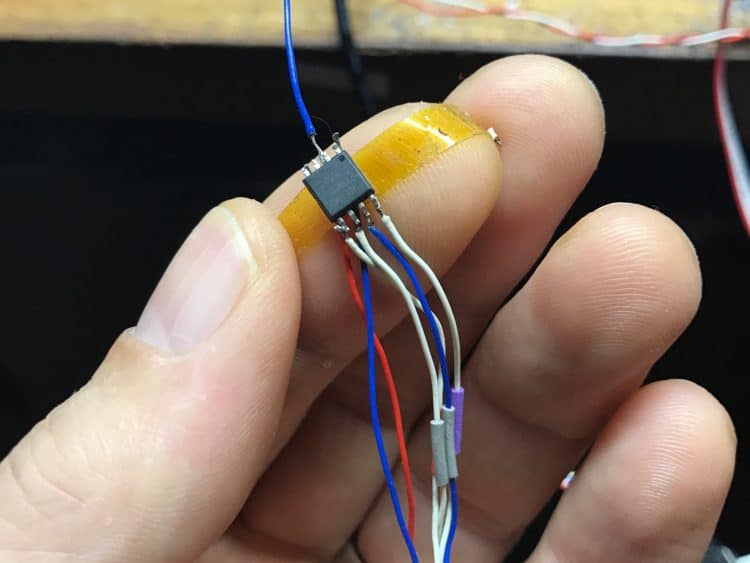

Uploaded and tested OK, so I don’t need most of those pins any more:
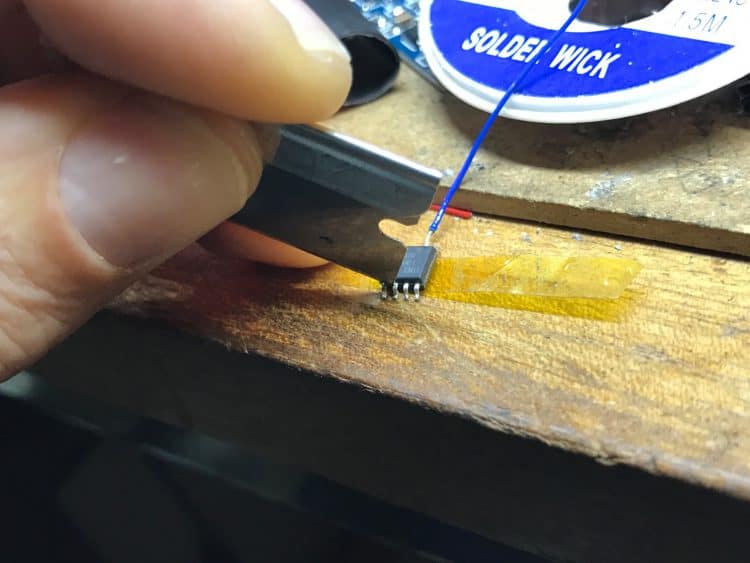
Just power and data out:
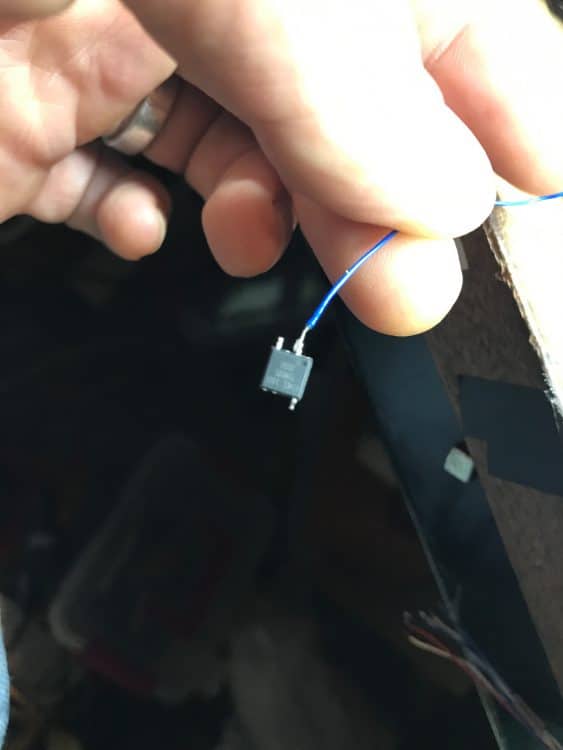
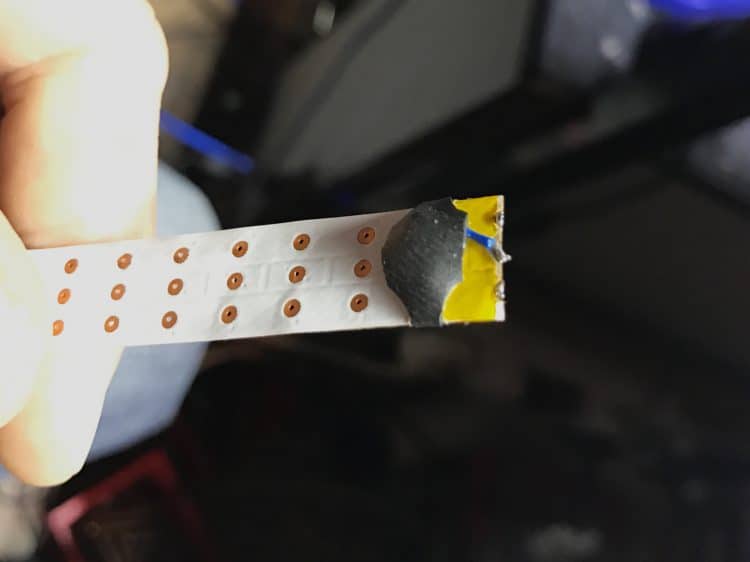
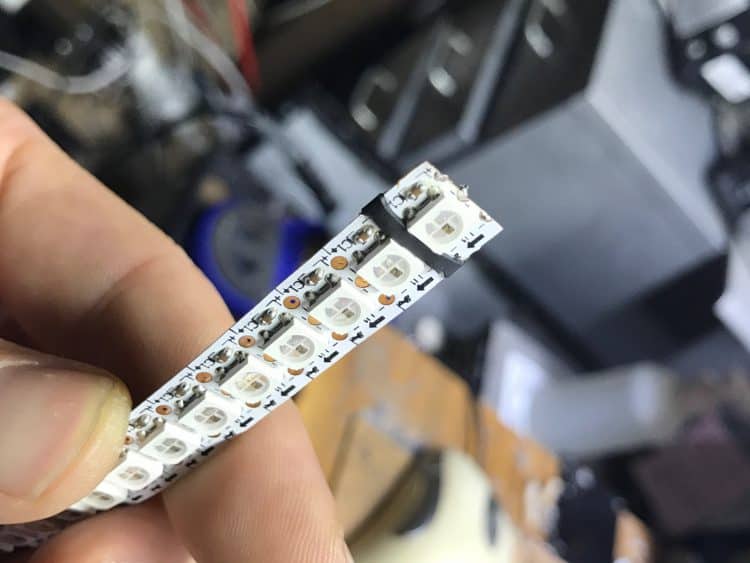
The power pins are just the right distance apart to solder straight to the power rails on the LED strip, with a tiny wire to carry the data:
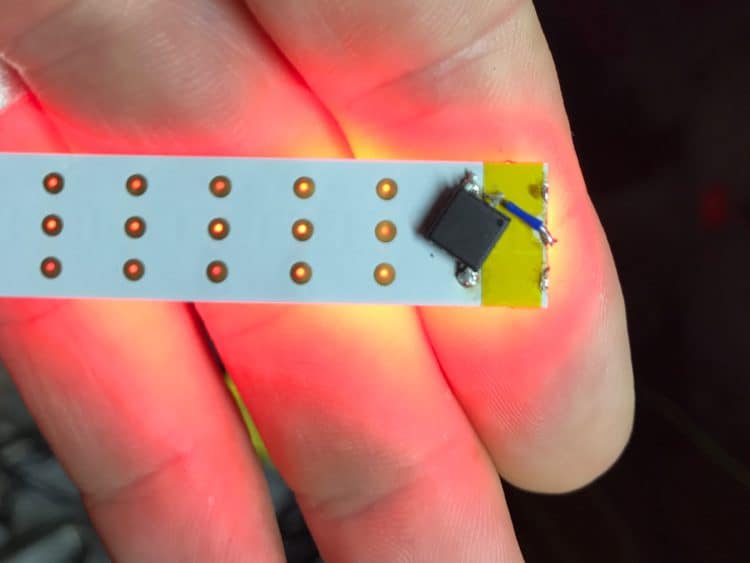
(Tip: if you’re soldering straight to the pads on one of these strips, tin the pads on the other side of the strip with a nice blob of solder too, so you end up with solder all the way through those little vias for extra strength)
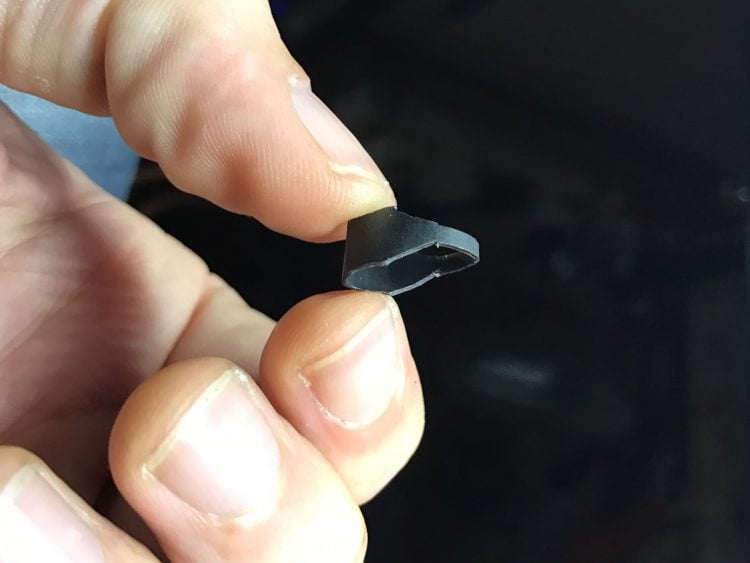
To make it a little more robust, I cut a bit of heatshrink to put over it. Adhesive-filled heatshrink is great for this:
Right then: power. The strip takes about 120mA when running, and the battery’s got to be small. And Russell’s gonna need some way to recharge it. Ebay has the answer (doesn’t it always?) – a pack of 4 600mAh batteries plus a USB charger for about a tenner:
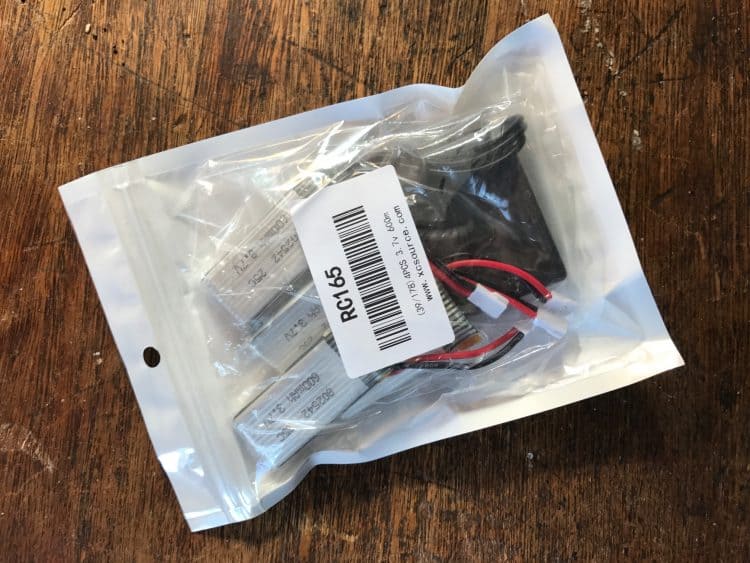
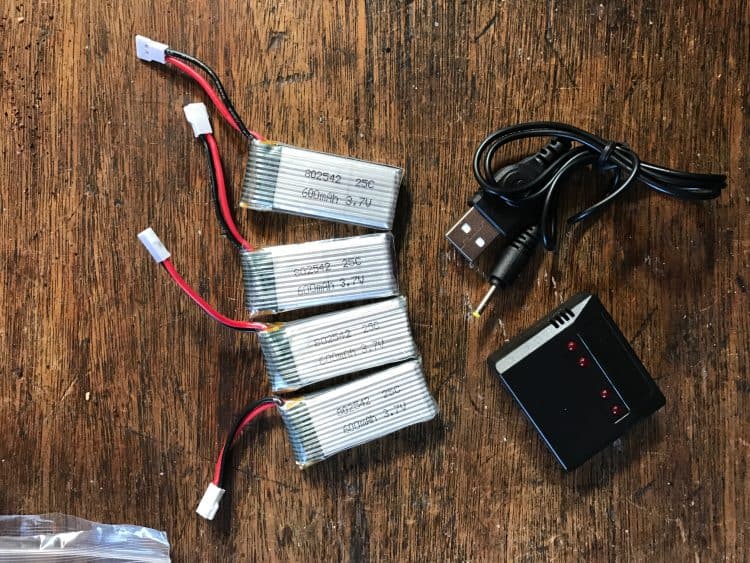
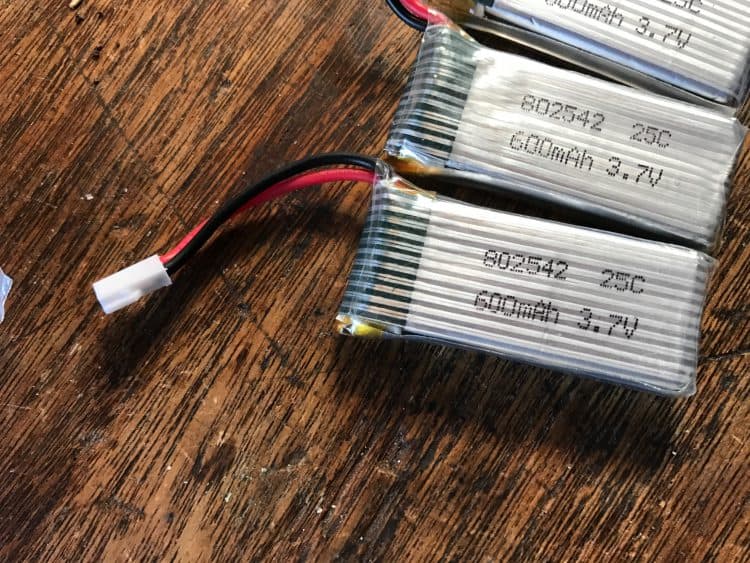
Groovy. Even if the batteries only deliver half their rated capacity, that should be enough. And they’re small enough to make carrying a spare easy enough. A few things to sort out, though.
First, the battery connector: I don’t have any sockets to mate with this:
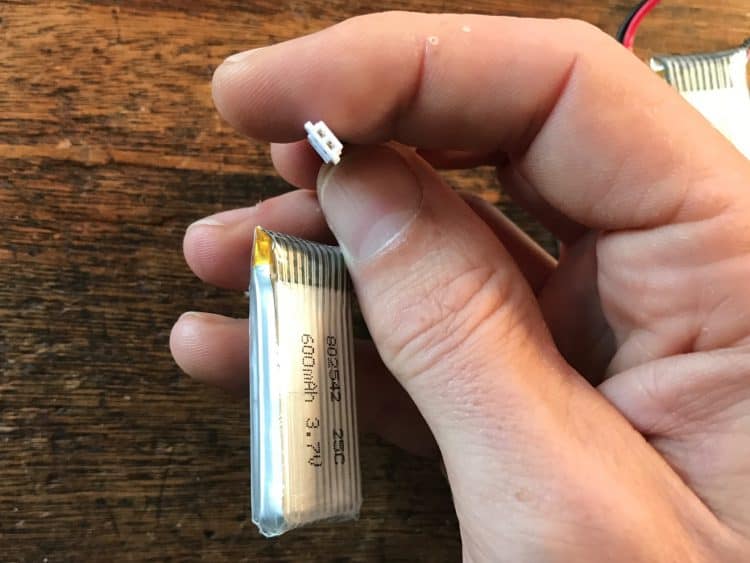
… and as this is a cheap-as-chips set of probably-Chinese batteries, it was worth unwrapping one to check it had some kind of battery protection inside:
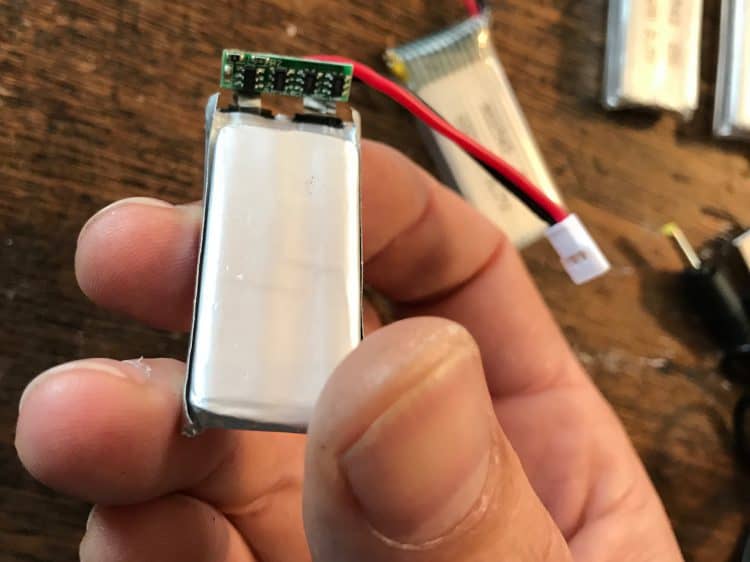
Yep, that’ll do. The batteries cut off at around 3.0V.
Next: the charger. It has four tiny sockets plus a power connector, and an extremely weedy USB-power jack lead. If you plug all four batteries in, though, what sort of current does it take? Is it safe to plug in to a computer’s USB port? Well, this is with three batteries connected, and two of them are already pretty much full:
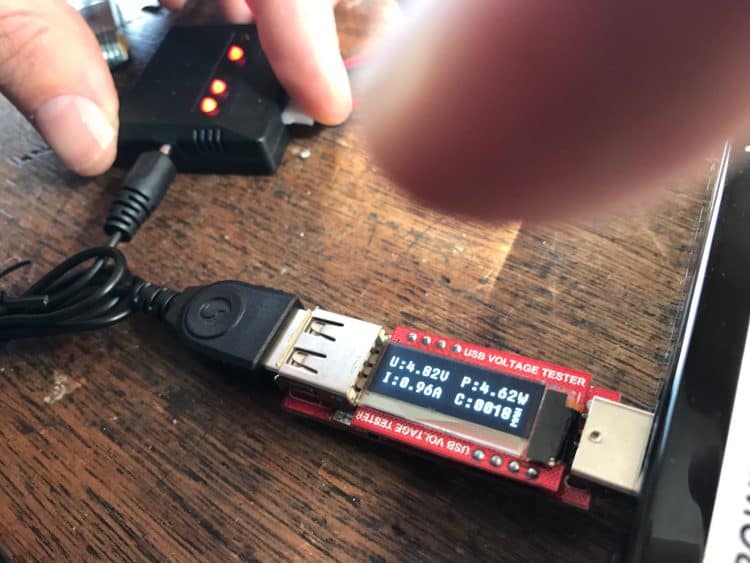
Hmm. Nearly 5 watts – almost an amp, and that’s only three batteries. That skinny little lead was starting to warm up a bit, too, with an amp running through it. Best we don’t plug that into a computer. And definitely a good idea to stop someone connecting all four batteries simultaneously.
But that solves another problem – my lack of a mating power connector for the battery. I desoldered two of the sockets from the charger:
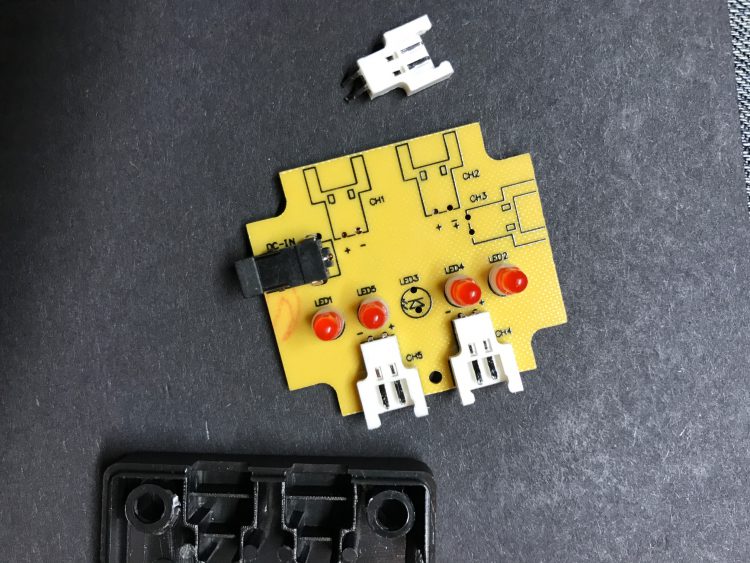
…and blanked off the holes with some card:
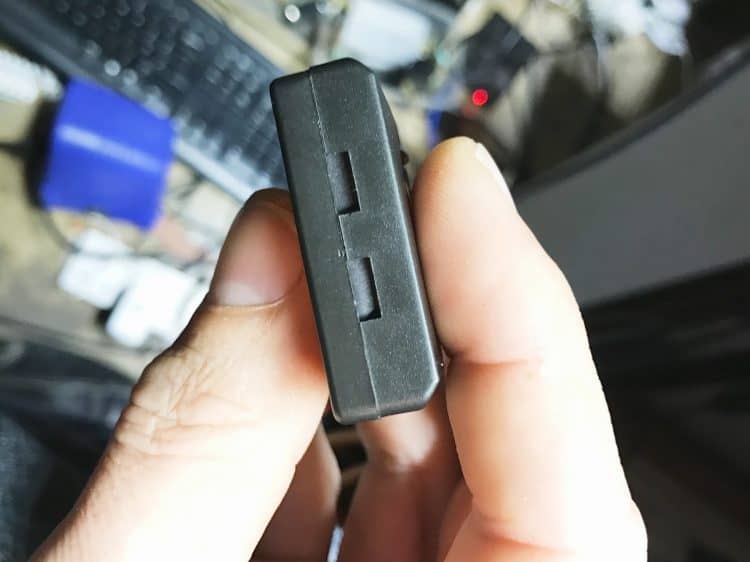
Now I have a socket! Add a bit of heatshrink and some wires:
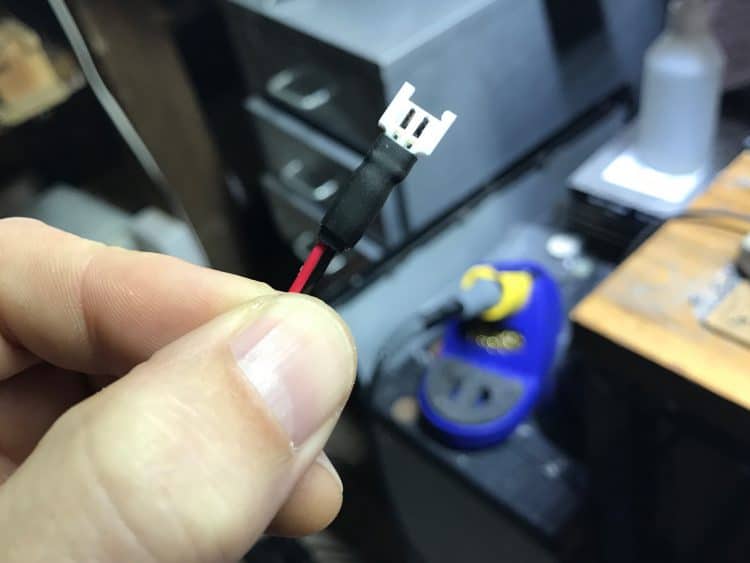
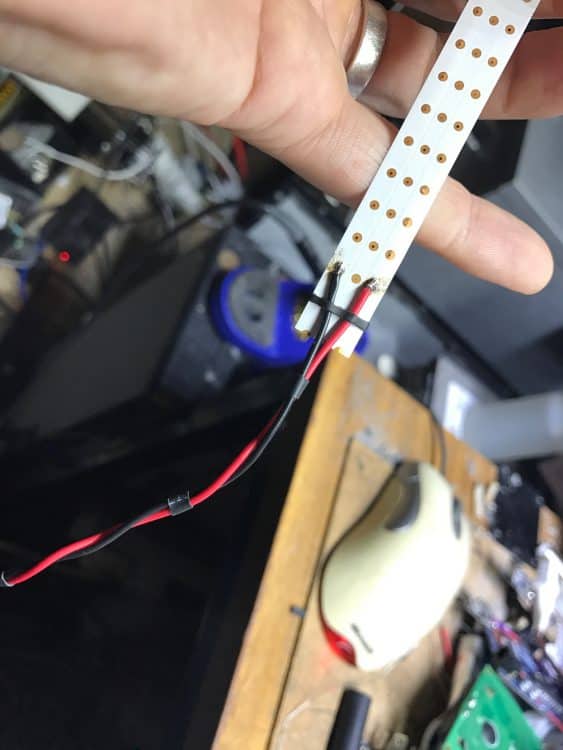
Now the strip has power. Gotta put a sticker on the charger to say “No computer! Use a USB charger!” but the strip itself works well – seems to run for hours off a single battery. Quick vid:
Over to my friend to fit it inside his bike helmet. He’s going to fit it inside the helmet, with a row of holes to let the light out: this strip ain’t waterproof, so some clear silicon bathroom sealant is going to have to be used to waterproof the whole thing. The batteries are small enough that he can cut a little compartment for them out of the helmet’s foam lining without affecting the safety of the helmet (barring the exploding LiPo possibility noted below)
One other thing: I couldn’t get the batteries to plug into the charger’s sockets at first; they seemed to need an inordinate amount of force. So I used a razor blade to chop down the little plastic retention nubs on the battery plugs; there’s still enough friction to hold them connected, but less chance you’ll rip the socket off the charger board trying to push the plugs in.
And on a safety note: the battery is the one potential hazard here; having a cheapo Chinese LiPo near your head is something to be … well, careful with … so we’ll need to make sure that when it’s fitted inside the helmet, there’ll need to be a tin plate over it so if anything goes wrong, it’ll explode (!) outward, not inward.
UPDATE:
It’s been fitted to the helmet! Check it out:
![Bike helmet Larson scanner [U]](https://howiem.org/wordpress/wp-content/uploads/2016/09/RussLarseon-009.jpg)

I’ve seen Russell wearing this. It was cool to see how it was made. Great job!
Help! I need more info on getting this to work. I only have 7 LED’s to program and the code isn’t happy with many lines when I try to upload it
hi
I am trying to make this for my sons wheelchair but I don’t know how to wire up the Arduino mega im looking at the picture but cant make out where the wires go to programme the led strip any help please
Very impressed with your overview on this topic! Thanks for your advice!